Interior Painting Preparation Process
Why Interior Paint Prep Matters
Interior paint doesn’t fail because of bad paint — it fails because of poor preparation.
Before any primer or finish coat is applied, surfaces must be properly cleaned, repaired, smoothed, and protected. Interior preparation is what ensures even coverage, consistent sheen, and a finish that holds up over time.
Our interior prep process is designed to eliminate common problems like peeling, flashing, visible patch marks, and rough textures — before they ever happen.

Step-by-Step Interior Painting Preparation
Cleaning Interior Surfaces
All interior surfaces are cleaned before painting begins. This removes:
Dust and debris
Grease and oils
Hand marks and residue
Light mildew or surface contaminants
Cleaning is especially important in kitchens, bathrooms, hallways, and high-touch areas. Surfaces must be completely dry before moving on to repairs or sanding.
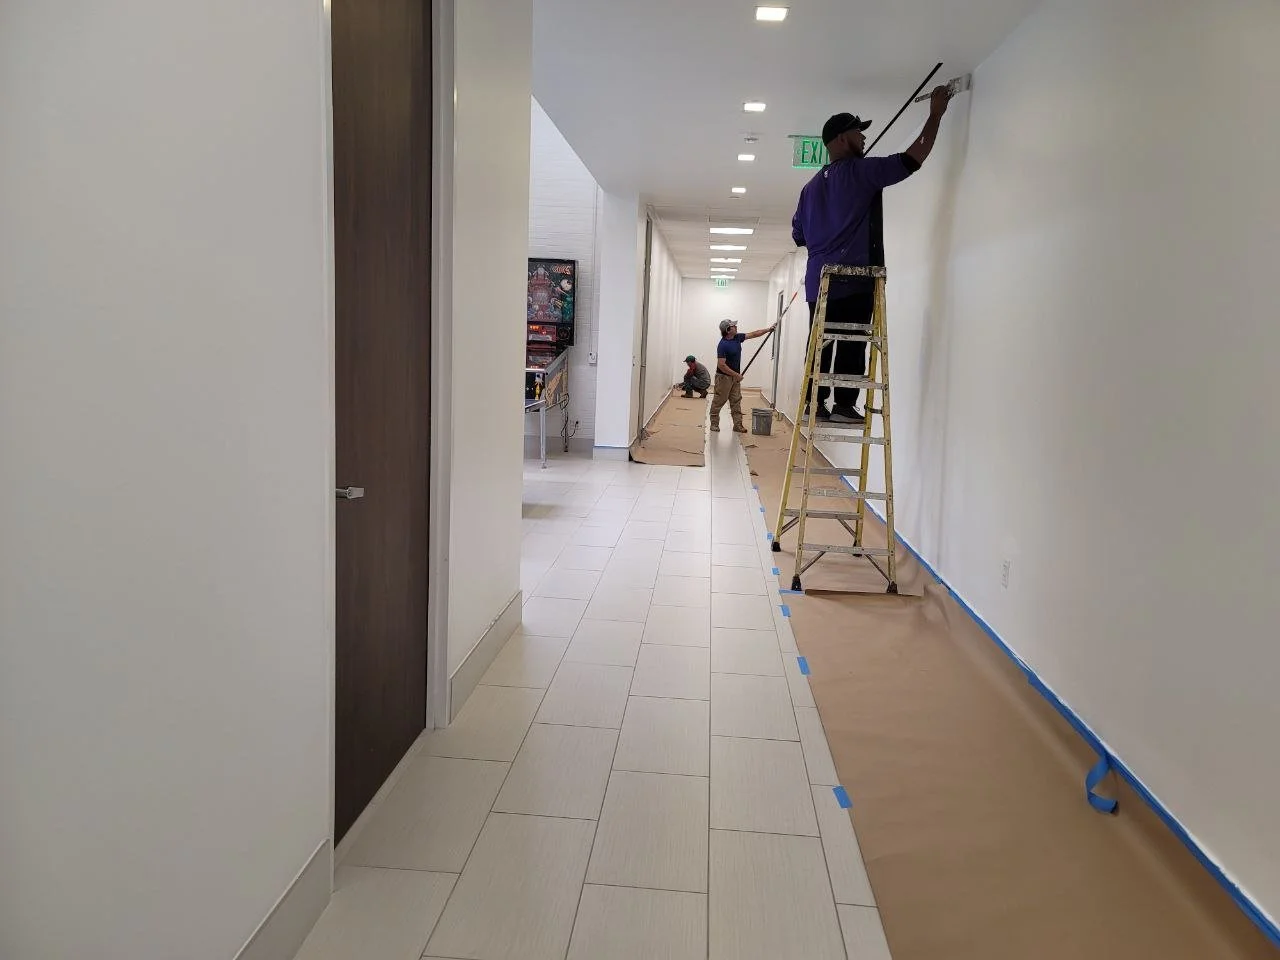
Protecting Your Home (Masking & Taping)
Before prep work continues, all non-painted areas are protected.
This includes:
Floors and flooring transitions
Trim, windows, and doors
Cabinets and fixtures
Furniture and built-ins
We use painter’s tape, plastic, paper, and drop cloths to create clean lines and prevent overspray or splatter. Protection is applied before priming and removed carefully after paint sets.
Surface Repairs & Drywall Preparation
Interior walls often need minor repairs before painting.
Prep work may include:
Filling nail holes and small dents
Repairing cracks or damaged drywall
Reinforcing small holes with patch systems
Removing loose drywall material
Cleaning and shaping repair edges
Repairs are completed in thin layers, allowed to dry fully, and sanded smooth so patched areas blend seamlessly once painted.
Sanding for a Smooth, Even Finish
Sanding improves both appearance and adhesion.
Interior sanding:
Smooths repaired areas
Dulls glossy or previously painted surfaces
Removes minor imperfections
Helps primer and paint bond properly
All sanding dust is removed before priming or painting begins.
Caulking Gaps & Seams
Caulking is used to seal small gaps where surfaces meet.
This includes:
Trim joints
Door and window casings
Baseboards and molding seams
Paintable caulk is applied, tooled smooth, and allowed to cure before paint is applied. This step creates clean lines and a finished look.
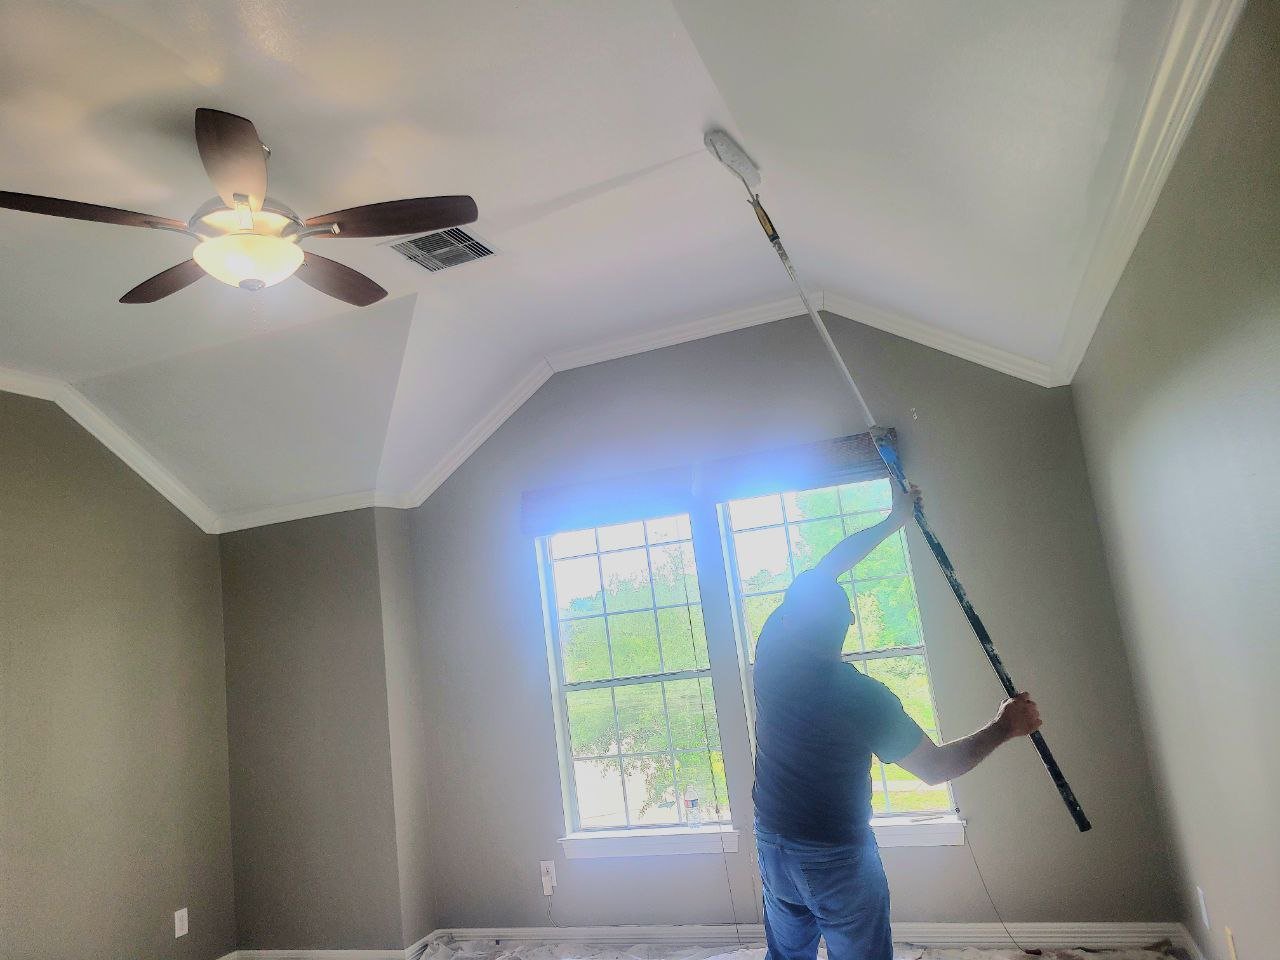
Priming Interior Surfaces
Primer is applied where needed to:
Seal repairs and bare drywall
Prevent flashing or uneven sheen
Improve adhesion
Create a uniform surface for paint
Priming always happens after repairs and sanding are complete.
How Interior Prep Is Sequenced
Interior preparation follows a specific order:
Cleaning
Protection (masking & taping)
Repairs
Sanding
Caulking
Priming
Skipping or reordering these steps leads to visible defects and shorter paint life. Proper sequencing prevents rework and ensures consistent results.
How Preparation Affects Final Results
Well-executed prep work results in:
Smoother walls
Sharper lines
Even color and sheen
Longer-lasting finishes
It’s the difference between a paint job that looks good on day one — and one that still looks good years later.
Related Interior Painting Resources
→ Explore Interior Painting Services
→ What to Expect During Your Painting Project
→ See Interior Projects in Our Portfolio
→ Understand How Preparation Affects Painting Costs
Interior Preparation FAQs
Why can’t you just paint over existing walls?
Paint needs a clean, stable surface to adhere properly. Painting over dirty, glossy, or damaged surfaces often leads to peeling, uneven finish, and visible defects.
Do all interior projects require the same level of prep?
No. Preparation depends on surface condition, previous coatings, and the scope of the project. Prep needs are evaluated before work begins.
Will repairs be visible after painting?
When prep is done correctly, repairs blend into the surrounding surface and are not visible once painted.
Does prep add time to a project?
Preparation does take time, but it prevents failures and rework. Skipping prep often leads to longer timelines later.
Want to See This Process in Action?
Preparation details matter — and the best proof is the finished result.

-
![Man standing outdoors holding a house-shaped sign praising his paintbrush.]()
Excellent Work On My Interior and Exterior!
Jeff
-
![happy customer]()
Second time working with Chris, The Proud Paintbrush, and look forward to working with them again.
Dylan
-
![Woman standing outside a white brick house holding a sign for a painting business, with a ladder to her right, smiling and wearing sunglasses.]()
The Proud Paintbrush did a great job painting my exterior!
Jessica
-
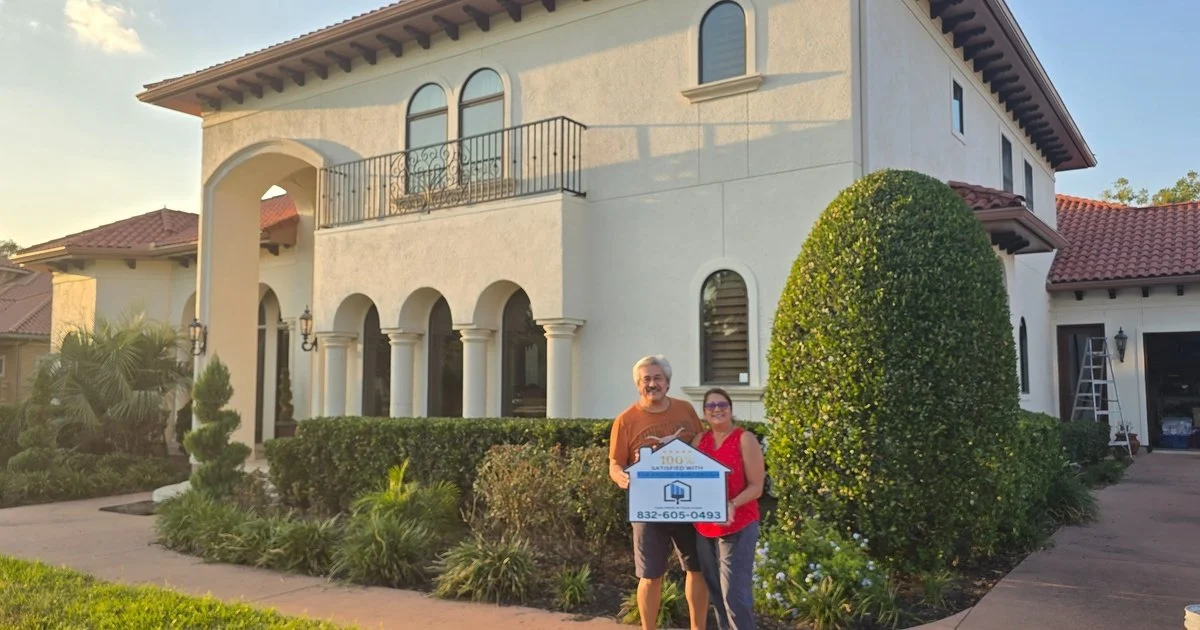
![Two people standing in front of a house, holding a sign that reads, '100% satisfied with the proud painter, 832-605-0493.' The house is large, white with black trim, and has a manicured lawn and a hedge in the front yard.]()
We Love Our New Look!
Rob and Brooke
-
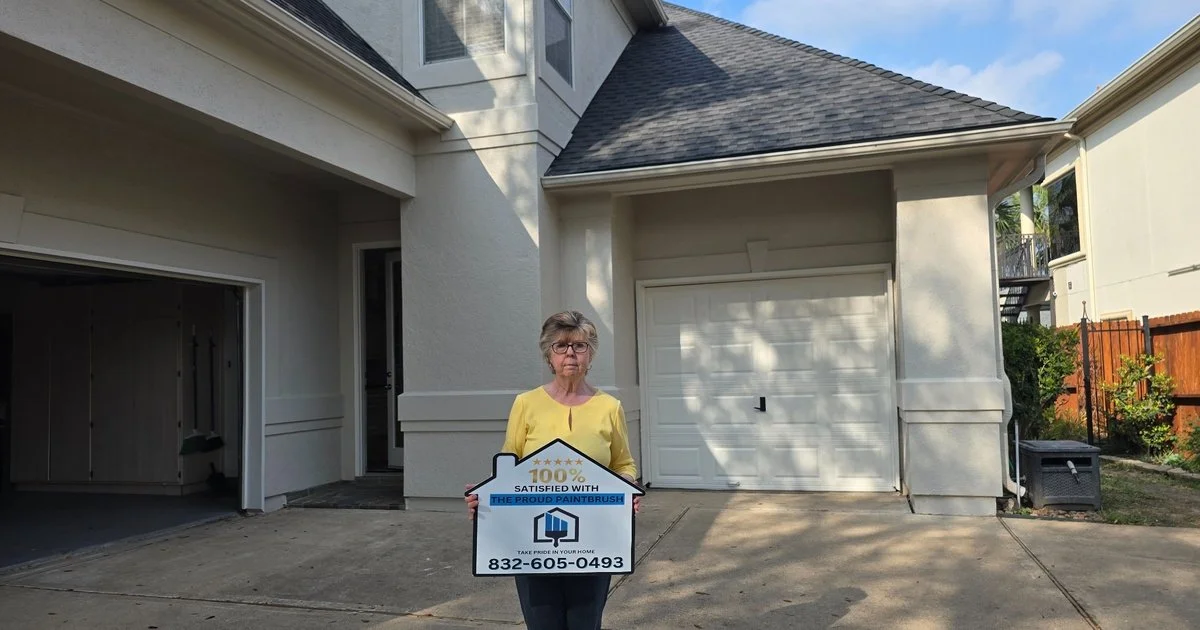
![Woman wearing sunglasses holding a house-shaped sign that says 100% satisfied with The Proud Paintbrush, including a phone number.]()
Very Pleased!
Vanessa
-
![Two elderly people sitting on a couch, holding a large sign that reads, "100% satisfied with the proud paintbrush," with a phone number. They appear happy, with a man on the left smiling and a woman on the right resting her chin on her hand, smiling. A small table in front of them holds various electronic devices and accessories, and there is a photograph of children on the wall behind them.]()
Highly Reccomend!
Mr and Mrs Washington
-
![A man standing in a hallway holding a sign that says '100% satisfied with the proud paintbrush,' with a phone number. He is wearing a black shirt with a company logo and a name badge, and is smiling at the camera.]()
Fantastic!
Chris
-
![A man standing in a workshop or construction area, holding a house-shaped sign that reads '100% satisfied with the proud paintbrush,' with a phone number below. The background includes ladders, scaffolding, paint supplies, and construction debris.]()
I Always Use The Proud Paintbrush!
Kevin
-
![happy customer 100% satisfied]()
Shifen
They did a great job staining my fence!
-
![]()
Excellent Communication
The Gomez’s
-
![]()
It Feels Like A New Home!
Eleanor