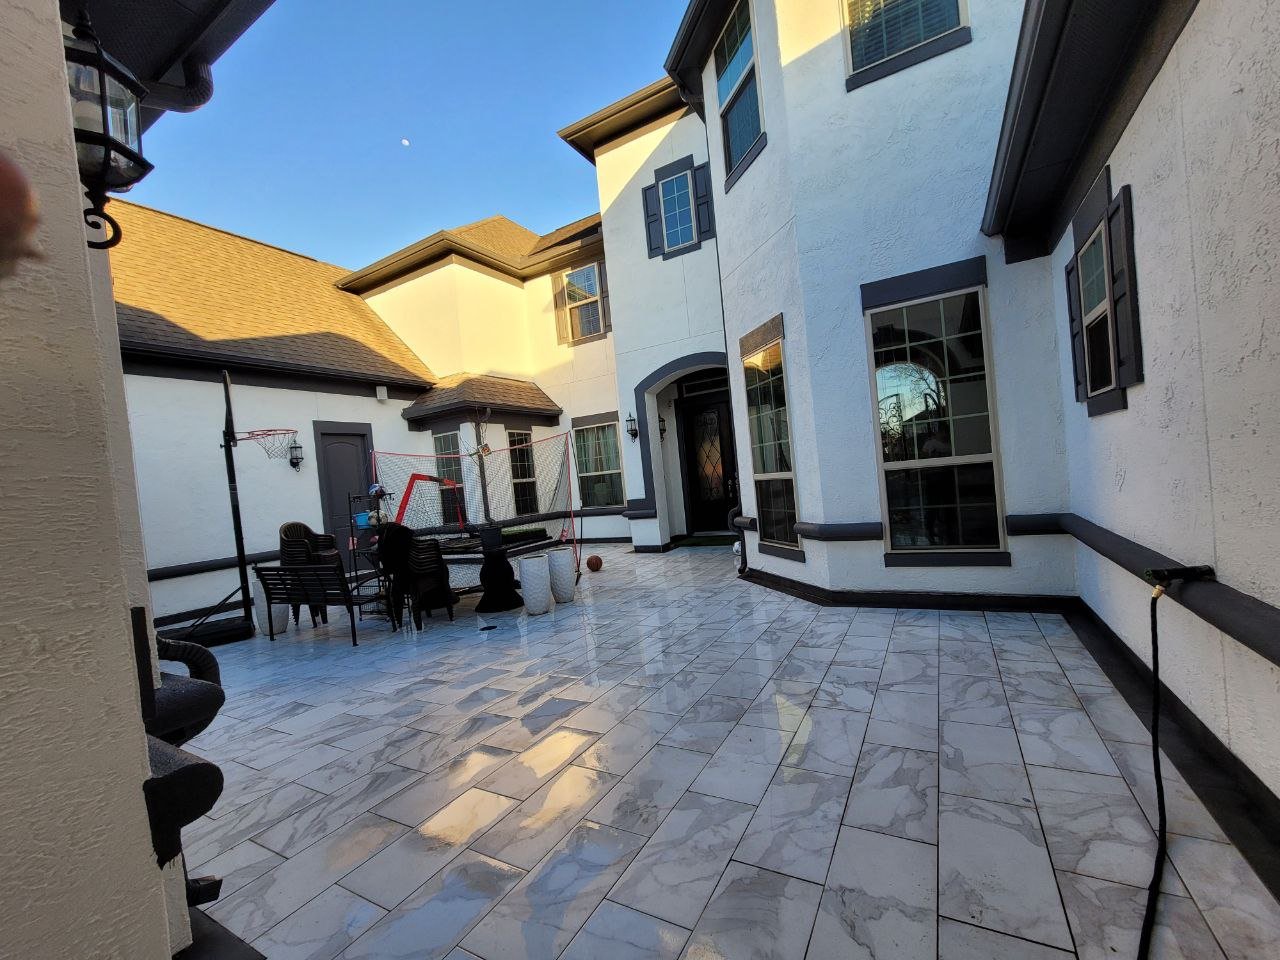
Prep It Right: 5 Different Types of Siding
There are various types of siding commonly found on houses, and each type requires specific steps before painting to ensure a successful and long-lasting finish. Here are some of the most common types of siding and the unique requirements for painting stucco and brick, in addition to the steps outlined for other materials:
Wood Siding:
Preparation Steps:
Clean the surface thoroughly to remove dirt, debris, and mildew.
Sand any rough areas or peeling paint.
Replace or Repair any damaged or rotted areas with wood filler or epoxy.
Prime bare wood with a high-quality exterior primer.
Caulk any gaps or cracks to prevent moisture intrusion.
Painting Steps:
Apply multiple thin coats for better coverage and durability.
Follow the manufacturer's instructions regarding drying times and recoating.
Vinyl Siding:
Preparation Steps:
Clean the siding thoroughly with a mixture of water and mild detergent or a specialized vinyl siding cleaner.
Rinse the surface with clean water to remove any soap residue.
Allow the siding to dry completely before painting.
Prime the siding with a primer specifically formulated for use on vinyl surfaces.
Painting Steps:
Apply an exterior acrylic latex paint formulated specifically for vinyl siding.
Avoid painting with dark colors that may absorb excessive heat and cause warping.
Apply paint using a brush or roller or airless sprayer, working in small sections for better control and coverage.
Allow the paint to dry completely between coats.
Fiber Cement Siding (e.g., HardiePlank):
Preparation Steps:
Clean the siding to remove dirt, dust, and mildew using a mild detergent and water.
Rinse thoroughly and allow the surface to dry completely.
Caulk any gaps or joints to prevent moisture penetration.
Repair any damaged areas with a patching compound designed for fiber cement.
Prime the siding with an acrylic primer suitable for cementitious surfaces.
Painting Steps:
Use a high-quality brush or roller or airless sprayer to apply paint evenly.
Apply multiple thin coats for better coverage and durability.
Follow the manufacturer's instructions for drying times and recoating.
Aluminum Siding:
Preparation Steps:
Clean the siding thoroughly using a solution of water and mild detergent or a specialized aluminum siding cleaner.
Rinse the surface with clean water and allow it to dry completely.
Sand any areas with peeling paint or corrosion.
Prime bare metal with a primer designed for use on aluminum surfaces.
Caulk any gaps or joints to prevent moisture intrusion.
Painting Steps:
Apply an exterior acrylic latex paint formulated for use on metal surfaces.
Use a brush, roller, or sprayer to apply paint evenly.
Apply multiple thin coats for better coverage and durability.
Follow the manufacturer's recommendations regarding drying times and recoating.
Stucco and Brick:
Preparation Steps:
Clean the surface thoroughly to remove dirt, dust, and any efflorescence (white, powdery substance).
Repair any cracks or damaged areas with a suitable patching material designed for masonry surfaces.
Allow the surface to dry completely before painting.
Prime the stucco or brick with a high-quality masonry primer to promote adhesion and provide a uniform surface.
Painting Steps:
Apply an exterior acrylic latex paint formulated for masonry surfaces.
Use a brush or roller to apply paint evenly, working the paint into the texture of the stucco or brick.
Apply multiple thin coats for better coverage and durability, allowing each coat to dry completely before applying the next.
Follow the manufacturer's instructions for drying times and recoating
Conclusion
Before painting any type of siding or masonry surface, it's essential to carefully read and follow the manufacturer's instructions for both surface preparation and painting. Additionally, it's advisable to choose high-quality paints and primers specifically formulated for exterior surfaces to ensure a long-lasting and durable finish.


